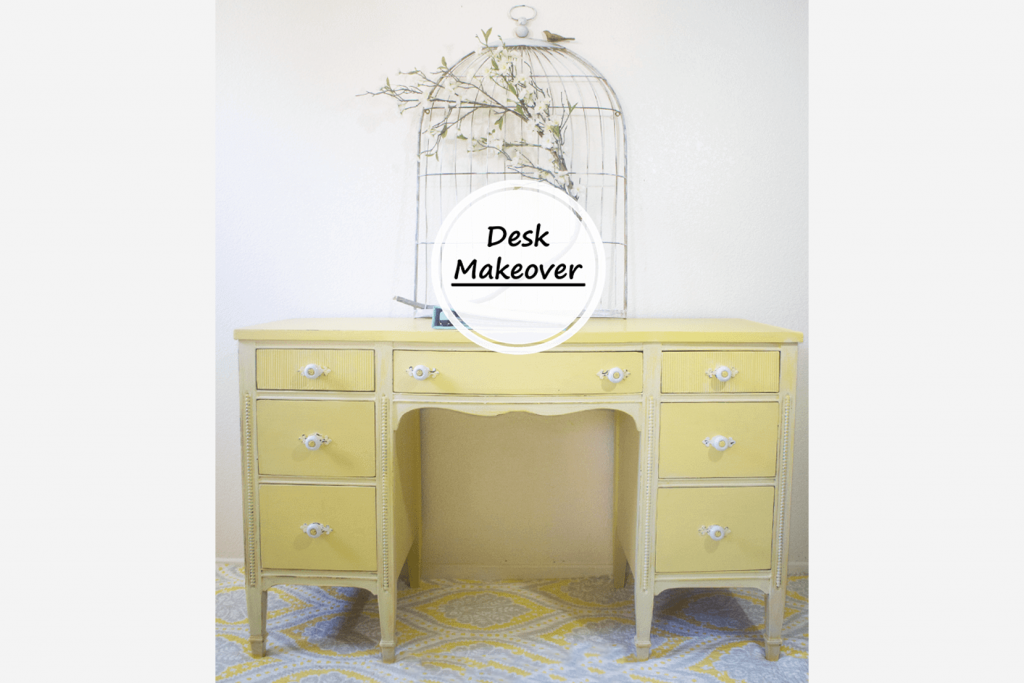
I love creating functional spaces with textures and colors that make you feel good when you walk into a room. I LOVE furniture makeover projects like this desk project you are about to see. Bringing new life to an outdated piece of furniture is a lot of fun!
I’m not an experienced woodworker or painter, but I’ve learned a great deal by experimenting with our own furniture. I offer helpful tips you can try too for your next project!
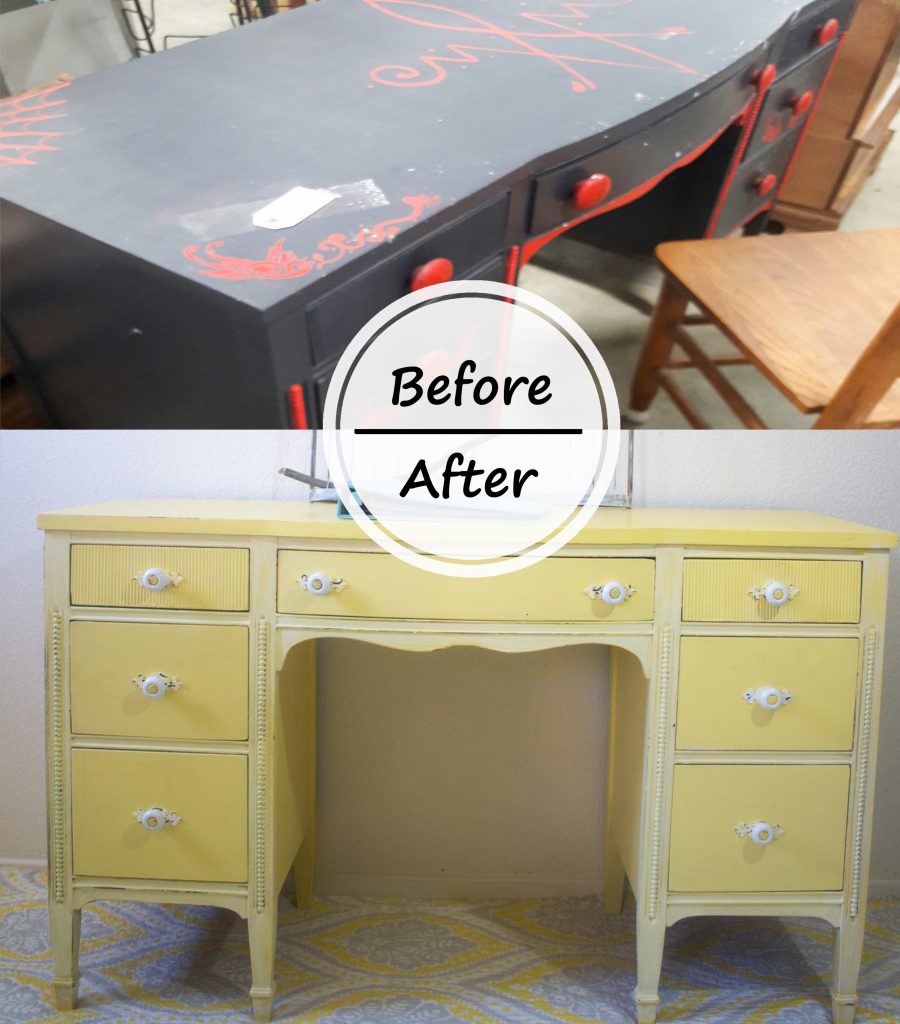
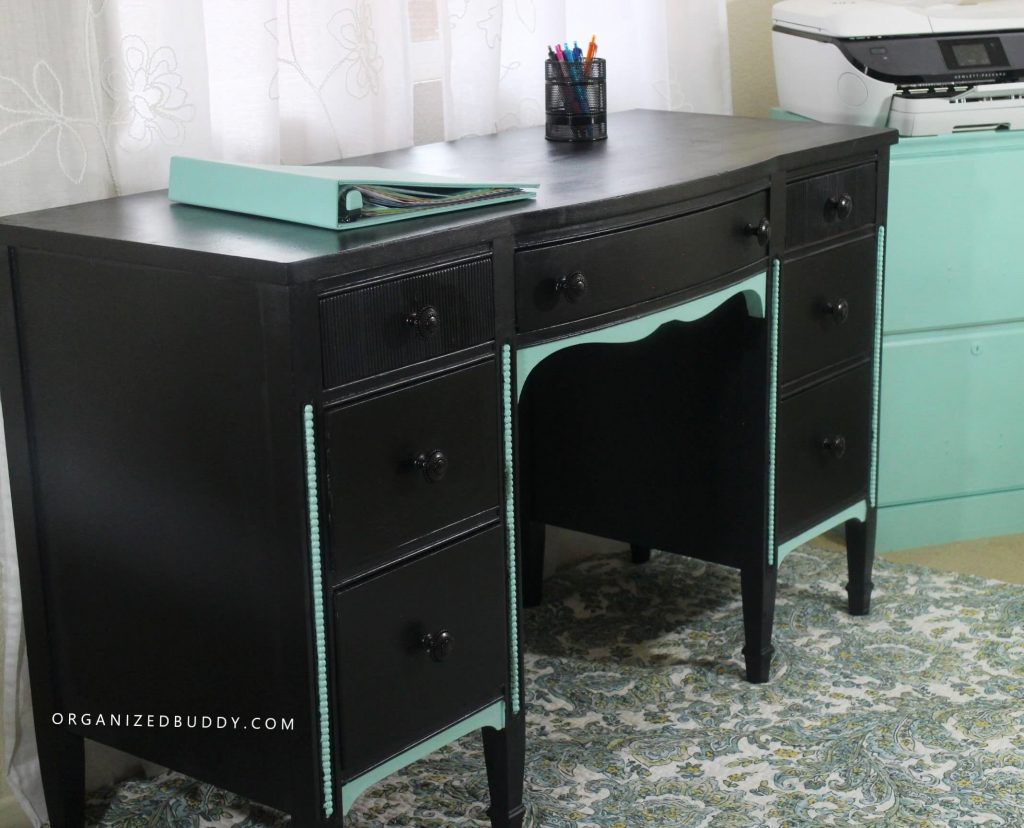
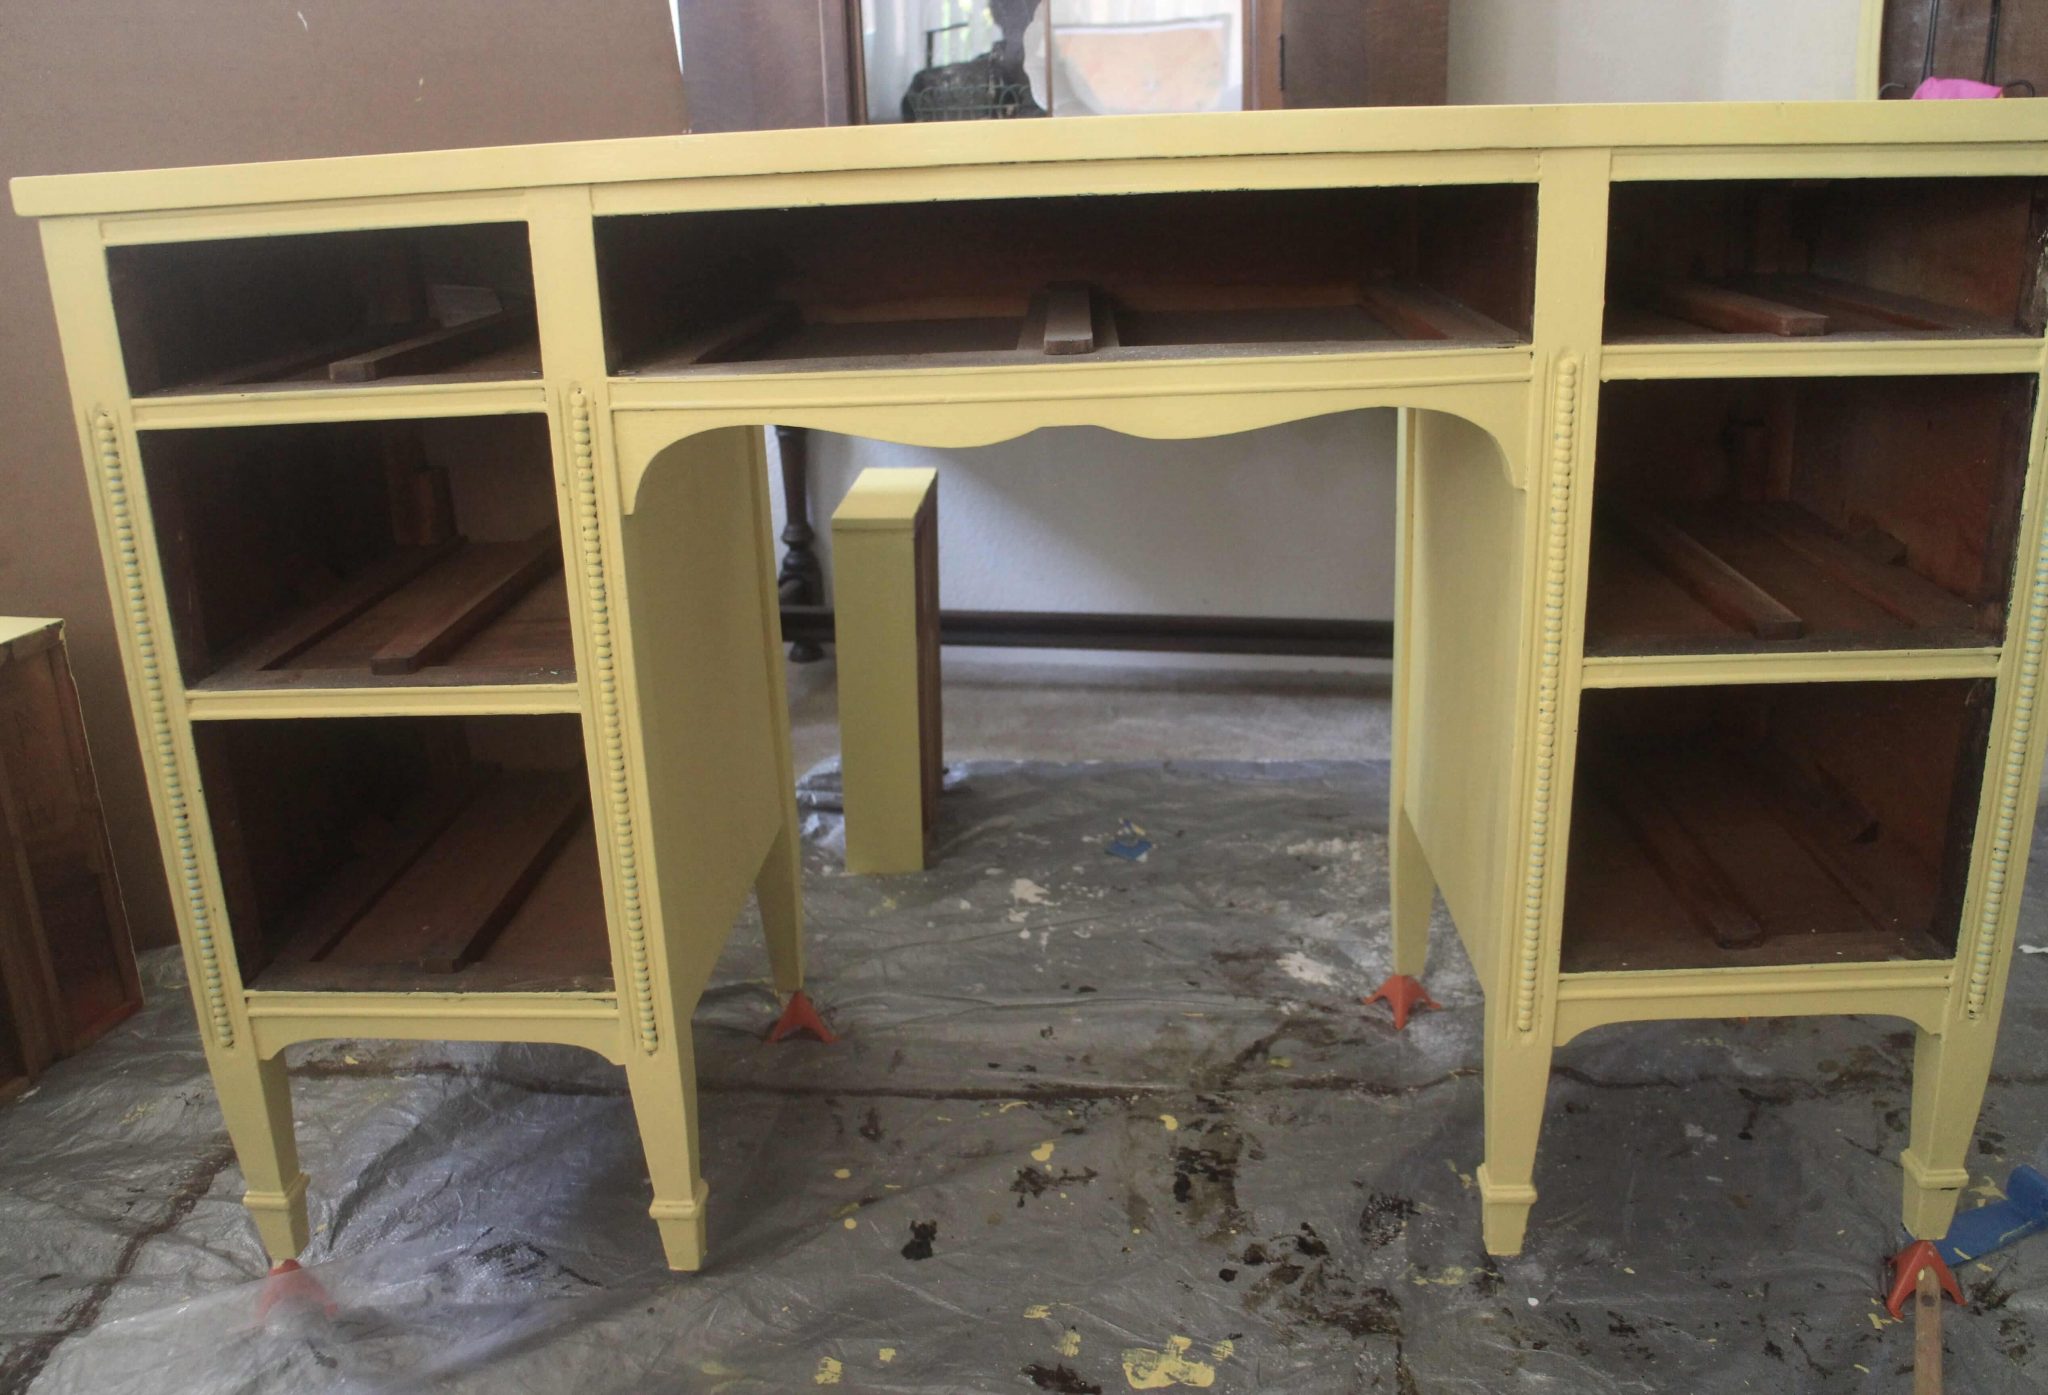
I found this desk at the thrift store for only $30.00. Initially, when I bought the desk, I put a fresh coat of black paint and added a touch of blue. Later, I realized I was ready for a NEW change. I wanted to brighten up our living space with another color. You will see how this project takes on a completely different look. One of the reasons I love painting is that you can easily change the look of your piece and space.
 Here is the first makeover I did on this desk.
I will be using homemade chalk paint for this project. You can find the homemade recipe on my DIY Chalk Paint post or you can see the video here.
The beauty of using a chalky texture paint is that you typically don’t need to prime and sand as the paint adheres to the existing surface. However, you will want to clean your piece and sand gouges and rough spots if you want a smooth surface.
BENEFITS OF USING CHALKY PAINT:
- Very little prep work
- Offers a more durable finish as opposed to just using latex paint alone.
- No strong odors or cleanup issues as with oil based paint.
- Can achieve an antique or vintage look
Chalk Paint is a registered brand of paint created by Annie Sloan. I have used a couple of different brands of chalk style paint before for other projects, but for this project I chose to make my own blend. Chalk paint works beautifully and can bring new life to an old piece of furniture or add a unique distressed vintage look.
SUPPLIES
-
- Chalky paint
- Mineral Spirits Krud Kutter – Better deal on this product at Home Depot. If you don’t have a Home Depot near you they also have it on Amazon here.
- Purdy flat paint brush and a Chalk paint brush
- Tack Cloth
- Varathane 1 Quart Interior Crystal Clear Water-Based Polyurethane, Satin Finish. (optional) or you can use wax
- Sanding block and a Hand Sander
- Sand paper
- Painters tape
- Lint free rags
- EXTRA SUPPLIES: Screwdriver for removing hardware, Nitrile gloves, paper plate, plastic spoon or paint stirrer, and tarp.
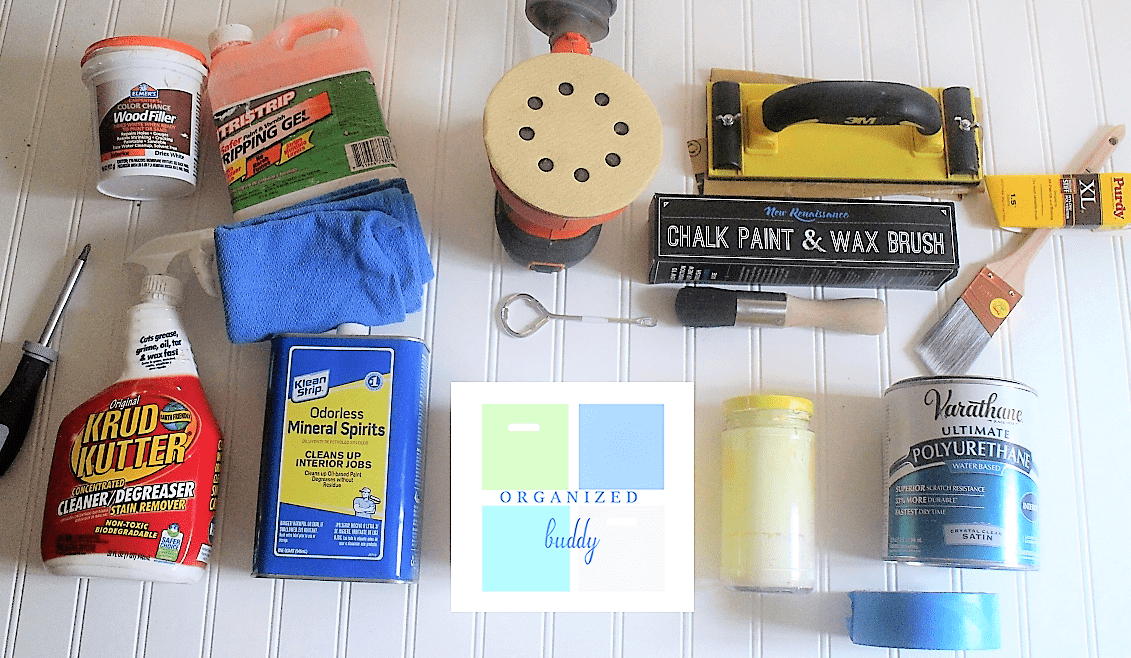
(I did not need to use the paint stripping gel for this project as seen in photo)
QUESTIONS & ANSWERS
Which style paint brush should be used? If you want a contemporary look, choose a flat brush. This style of brush is made with synthetic fibers which will help produce a smooth contemporary finish. If you want to achieve a vintage look, choose a round brush made with natural fibers.
STEP 1. PREP YOUR PIECE
-
- Remove any removable hardware and drawers.
- Tip: put the screws & hardware and place in a Ziploc bag if you will be reusing the hardware later.
- Run your hand across the piece to find any rough patches that might need sanding. Tip: you can also use Kleenex.
- Remove any sticky gunk.
- Fill any holes with wood putty.
- Clean furniture, even if your piece appears to be clean, it is likely covered in oils. Just allow ample drying time before applying your first coat of paint.
- STEP 2. SAND ANY ROUGH SPOTS IF YOU WANT A SMOOTH SURFACE.
Since I am using a chalky paint, I could proceed with painting because it will adhere to the painted surface without priming and sanding; however, I like to achieve an extra durable finish for certain furniture pieces, so I will do a light sand of the whole desk with 220 grit sandpaper.
I used the Orbital Sander 5-Inch because it’s small, easy to hold in your hand, and sucks up a lot of the dust into the removable bag that you can quickly empty out. I sanded the top with 80 grit sandpaper because of the deep gouges in the top surface of the desk, followed with 150 grit sandpaper, and then finally 180 grit sandpaper. www.popularwoodworking.com explains in detail the rules for sanding wood.
PLEASE NOTE: If you have water stains on your finish or a mahogany stain in your wood or you choose to sand the piece down to bare wood, you will want to prevent wood tannins from bleeding through your painted piece of furniture, especially important if using a light color of paint. Think of bare wood as a sponge; it will absorb what is painted on it, therefore you may find you’ll need to apply several more coats of paint to cover the dark streaks showing through your painted piece.
QUESTIONS & ANSWERS
What can I do to prevent bleeding through? Apply shellac on the wood before applying a coat of paint. This will prevent bleeding through. Please follow product instructions.
What do you do if you already applied chalk paint and didn’t use a Shellac? You can still apply Shellac over your chalk paint but not over a wax. If you used a wax, you will need to remove the wax first before applying Shellac by using a clean cloth dampened with Mineral Spirits.
STEP 3. REMOVE THE DUST
I used a damp lint free cotton rag to remove the dust, and then used a tack cloth to remove the fine particles.
STEP 4. TIME TO PAINT
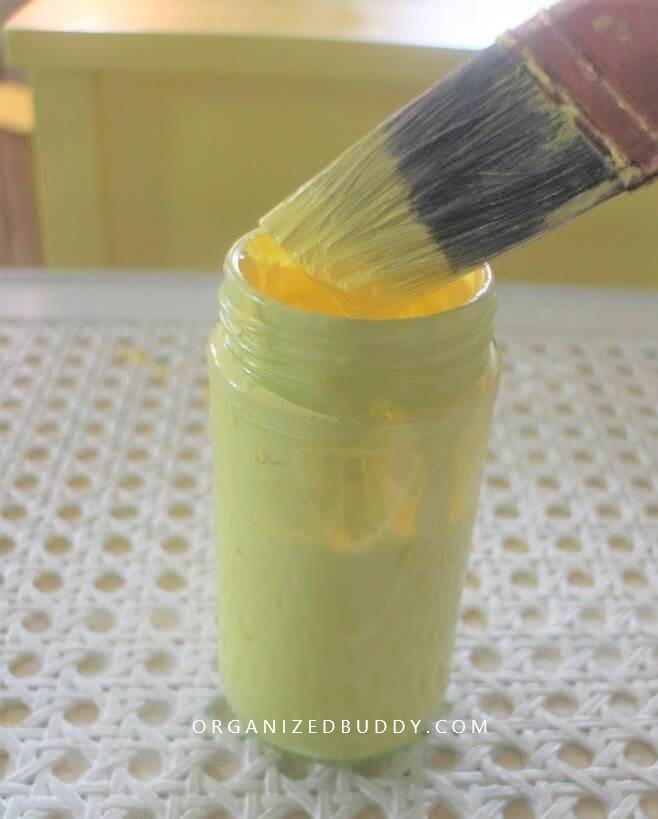
Optional: Mask off any area you don’t want painted using painters tape. I like to start with painting the top surface of the desk first and then work my way down while paying close attention to any paint drips that may occur. Paint drips that dry will stand out on your finished piece.
FIRST COAT: I applied a thin coat of paint. I find that a light coat works best for each coat verses trying to coat a thick coat of paint . Don’t worry if you notice brush strokes on the first coat as this will diminish with your second coat. You will soon discover a beautiful piece!
TIP: for an extra smooth texture: I like to do a light sand with 220 sand grit after each coat of paint for a smooth texture. I do this to test the finish as well as to make sure it’s smooth since this is the look that I want to achieve. But, this is optional and not necessary.
PAINT TIP: If you want to stop your project and take a break, but don’t want your paint brush to dry out, you can put your paintbrush in a ziplock bag and put it in the refrigerator until you’re ready to complete your project. (I used this technique when I painted my son’s room and it worked great.)
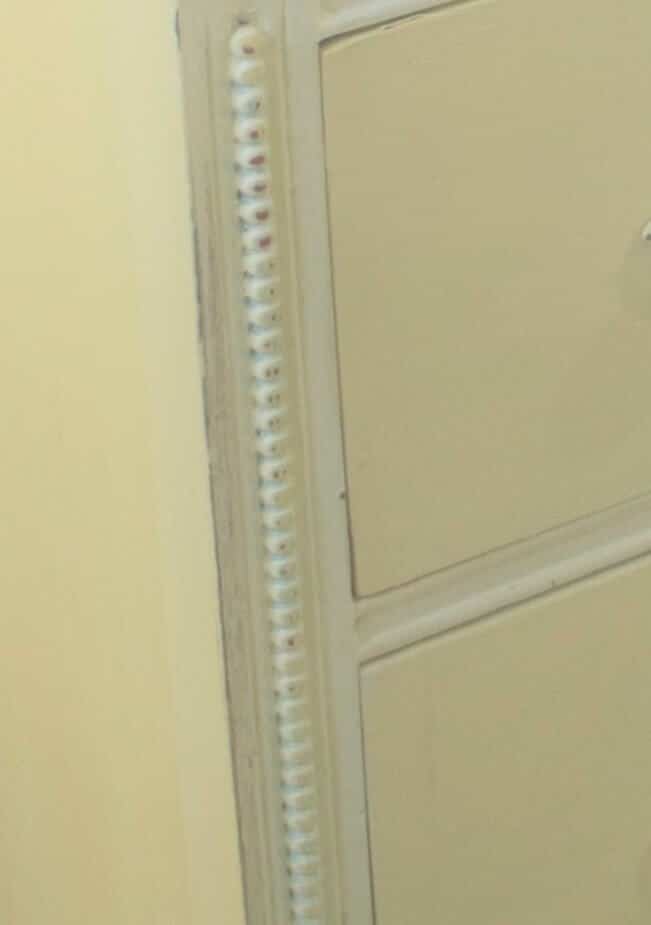
STEP 5. DISTRESS YOUR PIECE IF YOU CHOOSE
I initially didn’t want to distress this piece, but after seeing the whole piece in yellow, it was too bright for the space I intended it for. I mixed a little bit of white paint with yellow and then painted the front of the frame around the drawers to add a distressed touch and lighten it up the yellow. And then distressed the piece using 150 sand grit paper to the metal knob pieces, and other areas I wanted to see the wood coming through. If you want to achieve a natural distressed look on your piece, sand where you would typically see wear on a piece of furniture.
STEP 6. PROTECT FURNITURE
It’s now time to protect the desk. I’ve used waxes in the past to protect finishes after applying a chalky texture type paint, but they are temporary and need wax applications every few months to protect the finish. For this project, I want to achieve a durable finish since I will be using the top surface of the desk daily.
I chose Varathane Polyurethane water based formula because I want a durable finish that will last as long as possible. This is my new go to favorite top coat especially when using light colored paints as it doesn’t produce a yellowish tint on your painted finish. However, extremely light colored painted furniture does seem to show some yellowing over time. You can purchase this product at Home Depot online or on Amazon. You can also check your local Home Depot to see if they carry this product.
STEP 7. APPLY HARDWARE
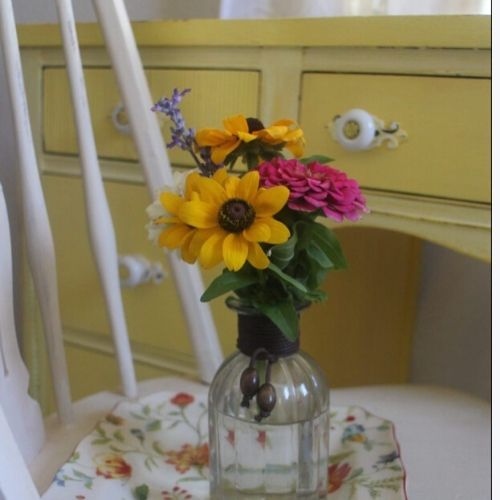
I added new hardware for this desk makeover.

Sometimes all we need is a vision and encouragement to inspire us to try new projects — and if it doesn’t work out, that’s okay too. It’s definitely more fun to have a buddy along the way as we test our ideas and try new projects.
 Happy painting!